
Menu
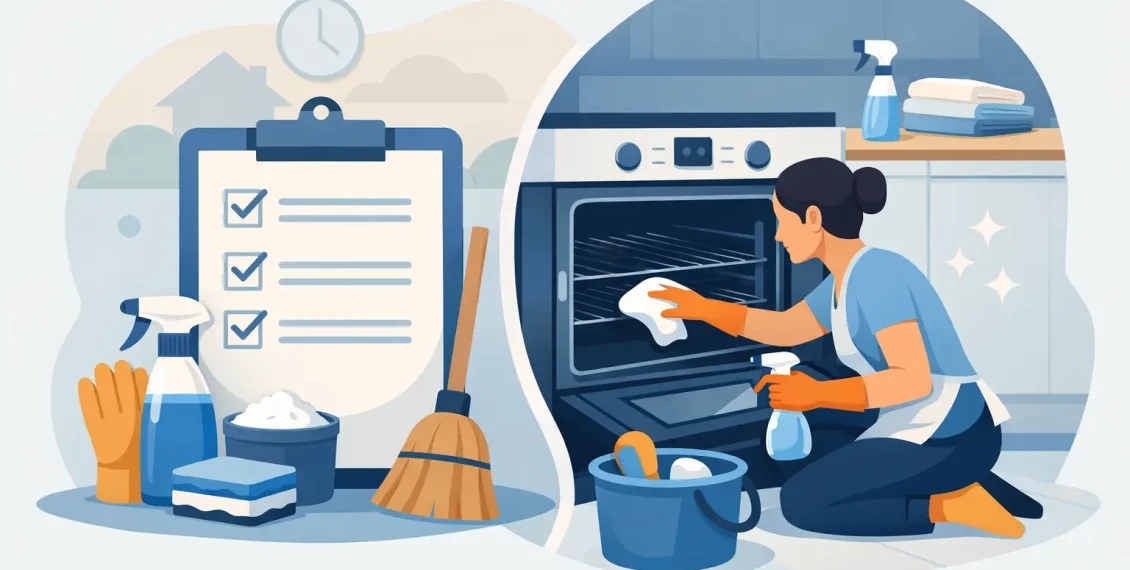
A heavily used oven can hide more than a few burnt-on splashes. Grease collects behind the door glass, crumbs carbonise beneath the base plate and shelves become difficult to slide. Knowing how to prepare for oven cleaning means your appointment can focus on the transformation you want to see – a properly cleaned appliance with a fresh, fume-free finish.
The good news is that preparation is simple. You do not need to scrub the oven first or buy specialist products. A professional clean is designed to take that job off your hands. A little access, a cool appliance and a quick check for anything unusual are usually all that is needed.
Start by allowing the oven, cooker or range to cool completely. This is essential for safety and gives cleaning products the right conditions to work effectively. If you have cooked a large meal or used your appliance for a Sunday roast, booking the clean for another day is often the easiest option. At minimum, avoid using the oven immediately before your technician arrives.
Next, remove any loose items that do not belong to the appliance. Take out baking trays, roasting tins, pizza stones, thermometers and foil liners. These items can be cleaned separately if agreed as part of your service, but they should not be left in the cavity by accident. If you would like particular trays or shelves cleaned, place them nearby and mention them when the technician arrives.
It also helps to clear the worktop around the cooker. Your specialist needs sensible space to work safely, set out protective coverings and remove oven components for cleaning. There is no need to empty the whole kitchen. Simply move everyday items such as kettles, utensils, oils, chopping boards and decorative pieces away from the immediate area.
Finally, make sure there is a clear route to the kitchen. This matters especially in busy family homes, flats with narrow hallways and properties where pets may be underfoot. A straightforward arrival and workspace helps the visit begin promptly.
It can be tempting to spray the oven the night before, particularly if you are embarrassed by the build-up. Please resist the urge. Strong supermarket oven cleaners can leave behind caustic residue and fumes, and they may affect surfaces or make the appliance unpleasant to work on.
Professional oven cleaning is most effective when the technician can assess the appliance as it is. Specialist, fume-free products and a careful strip-down process are chosen for the job in front of them. Trying several products beforehand can make it harder to identify old residue, staining or areas that need extra attention.
If you have already applied a cleaner, do not worry. Tell the technician what you used and when. Honest information is more useful than a last-minute scrub.
A short check before the appointment can prevent surprises. You are not expected to diagnose faults, but it is helpful to let your cleaner know about anything you have noticed. This could include a door that does not close properly, a loose handle, a faulty light, a damaged seal or an element that has stopped heating.
Cleaning and repairs are different services, so an existing fault may not be resolved during a clean. However, raising it early allows the technician to take appropriate care and explain what can safely be cleaned. It also avoids mistaking an old issue for something that occurred during the visit.
This is particularly valuable for premium and complex appliances. Range cookers, AGAs, Everhots and older ovens all have their own construction, finishes and removable parts. A specialist clean can make a remarkable visual difference, but the safest method depends on the appliance model, its condition and the manufacturer guidance.
If your cooker has a self-cleaning or pyrolytic programme, do not run it before a professional clean unless you specifically want to. High-temperature cycles can create smoke, odour and residue, and they are not always the best answer for every appliance or every household. A manual deep clean provides more control, particularly around racks, door glass, controls and awkward areas where grease tends to settle.
Your cleaner will normally need access to a standard power point and a nearby sink. Check that the relevant sockets and taps are accessible, rather than buried behind stored items. There is no need to disconnect your oven yourself. In fact, do not move a built-in appliance, pull out a heavy range cooker or attempt to remove panels unless you have been instructed to do so by a qualified professional.
Good ventilation is useful too. Although fume-free cleaning avoids the harsh chemical smell associated with many DIY products, a kitchen can become warm while work is under way. Opening a window where practical creates a more comfortable working space.
If you have an extractor hood, hob or splashback included in the booking, clear the surrounding worktop and remove anything stored on top of the cooker. A quick word with your technician at the start will confirm exactly what is covered and make sure your expectations match the service booked.
Oven cleaning is a hands-on job involving hot-water equipment, removable components and focused work around the cooker. For everyone’s safety, keep young children and pets out of the immediate kitchen area while the clean is taking place. You do not need to leave the property, but it is sensible to plan meals, school runs and dog walks around the appointment where possible.
Most customers use the time to get on with their day nearby. That is one of the benefits of choosing a local specialist rather than spending hours on a messy DIY clean. Before the visit begins, agree how the technician can reach you if you need to step into another room or take a call.
If access will be provided by a tenant, house sitter or family member, make sure they know which appliance is being cleaned and whether any extras have been agreed. Landlords and letting agents should also confirm access arrangements in advance, particularly for end-of-tenancy cleans where several trades may be visiting on the same day.
A proper oven clean deals with grease, carbon, food residue and the dull film that builds up through regular cooking. When removable parts are taken out and cleaned thoroughly, the difference can be striking. Doors brighten, shelves move more freely and the oven feels far more pleasant to use.
Some marks, however, are not dirt. Heat damage, chipped enamel, permanent discolouration, etched glass and worn coatings may remain visible after cleaning. This is not a sign that the work has been rushed. It is the difference between removable build-up and a surface that has changed over years of use.
Being realistic about this makes the finished result more satisfying. Your technician should be able to point out any pre-existing wear and explain the likely outcome before work begins. At OvenGleamers, the aim is not to hide the condition of an appliance – it is to restore every cleanable surface to the highest practical standard and leave it properly gleaming.
Before the appointment, make sure the oven is cold, remove loose cookware, clear a little workspace and keep children and pets away from the kitchen area. Have any questions about faults, stains or included items ready to mention at the door. That is all.
There is no prize for tackling the worst grime before a professional arrives. Save your time, avoid harsh fumes and let the specialist work do what it is meant to do. With a clear, cool appliance and easy access, you can look forward to opening the oven door afterwards and seeing the finish you had hoped for.
Self Cleaning Oven Versus Manual: Which Wins?
Heavily Soiled Oven Cleaning Example Explained
Ward Robertson Review Reply
Strip Down or Self Clean Oven: Which Is Best?
Best Ways to Maintain an AGA Properly at Home
How to Clean Cooker Hood Mesh Without the Mess
Oven Cleaning for Landlords Between Tenancies
Best Non Toxic Cooker Cleaning Process at Home
